Note – since this post we’ve released a new , better String Potentiometer – check it out here: https://www.autosportlabs.com/new-product-string-potentiometer-sensor
Unlock the secrets of your fast drivers
In the mad scramble during the last minutes before our 24 hours of Lemons race we remembered wanting to install a steering angle sensor so we could get the magical full driver data profile: throttle position, brake pressure and the elusive steering angle. Yes, we need all three of these data channels so we can unlock the secrets of our fastest drivers! 🙂
String potentiometer to the rescue!

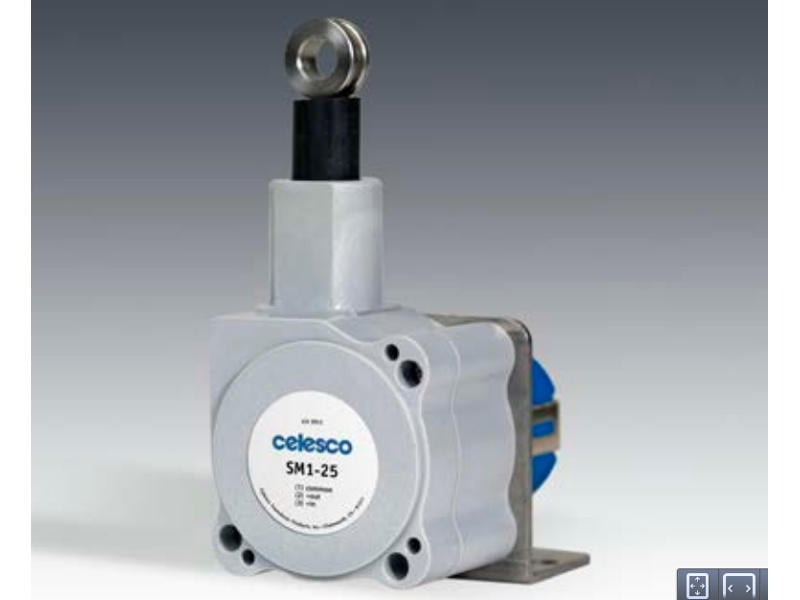
For a long time we’ve imagined a quick way to install a steering angle sensor using a precision Celesco String Potentiometer . So we set to work on the installation: I measured the diameter of the steering shaft and determined it was 1″. On our Merkur XR4Ti the steering ratio is 2.75 turns lock to lock – a pretty fast ratio for twisty tracks – but I digress. If I used the rotation of the steering shaft to pull and retract the string potentiometer, I would need a total throw of:
π X steering shaft diameter X number of turns lock-lock
or
3.14 X 1 X 2.75 = about 8.6″
So the 12″ version of the Celesco string potentiometer would work nicely.
Quick, Dirty and Awesome
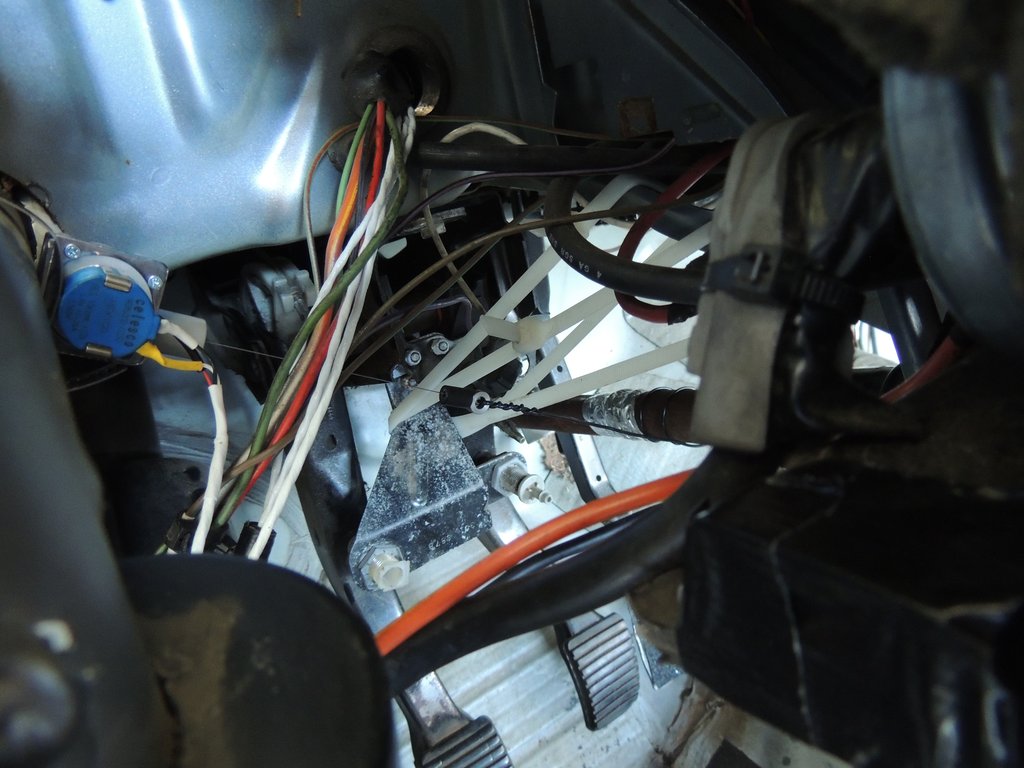
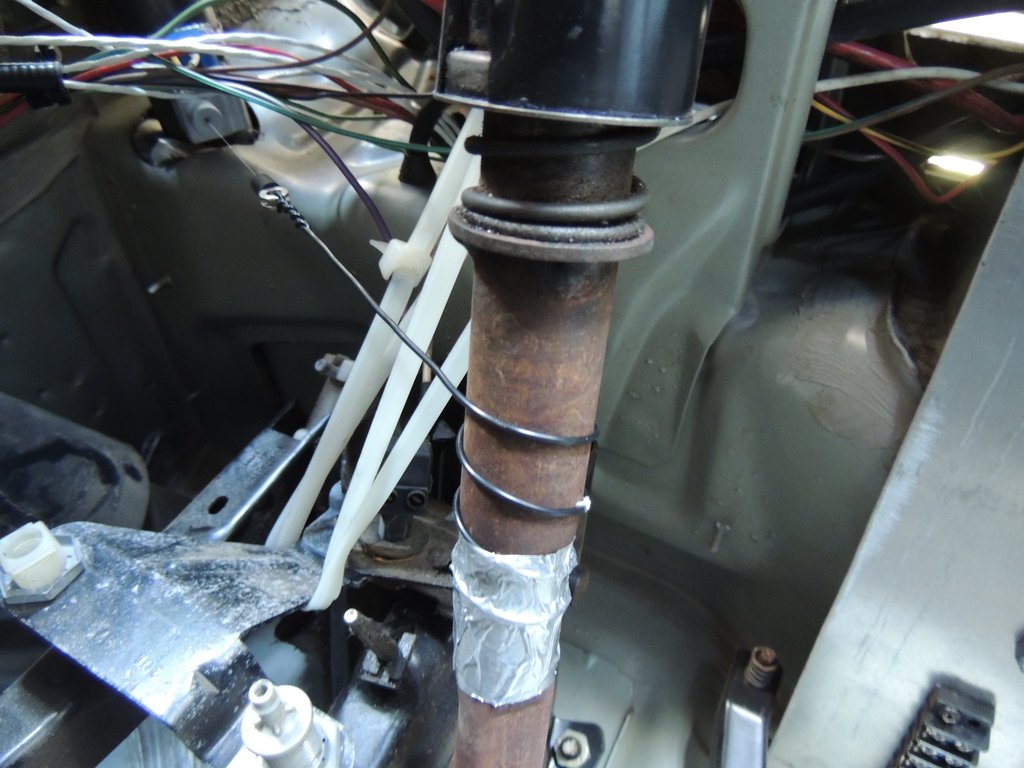
To finish the installation I mounted the potentiometer to the roll cage using a hose clamp more-or-less closely aligned with the steering shaft. Note, alignment isn’t critical at all but OCD dictated I get it as close as possible. Then, I took a length of 24 gauge stranded copper wire, wrapped the tail around the steering shaft and anchored it with aluminum tape. The steering wheel was set to center point and the string potentiometer was extended 1/2 way. Keeping the steering wheel straight I connected the copper wire to the loop at the end of the cable. Once the full travel was verified I moved to wiring the sensor- which took the bulk of the remaining time.
Calibration
RaceCapture/Pro calibration was a matter of measuring the voltage going into the sensor input under varying steering wheel positions: At full 360 degree left, center and 360 degree right. These voltages mapped to -360, 0, 360 degrees in the Sensor calibration view so a meaningful value can show up in analysis with no post-processing needed.
Conclusion
How would we improve the design? While quick, dirty and actually quite reliable, we’d probably improve this design by using monofilament line with a small anchor tapped and mounted into the steering shaft- mostly a cosmetic improvement. Not much beyond that!